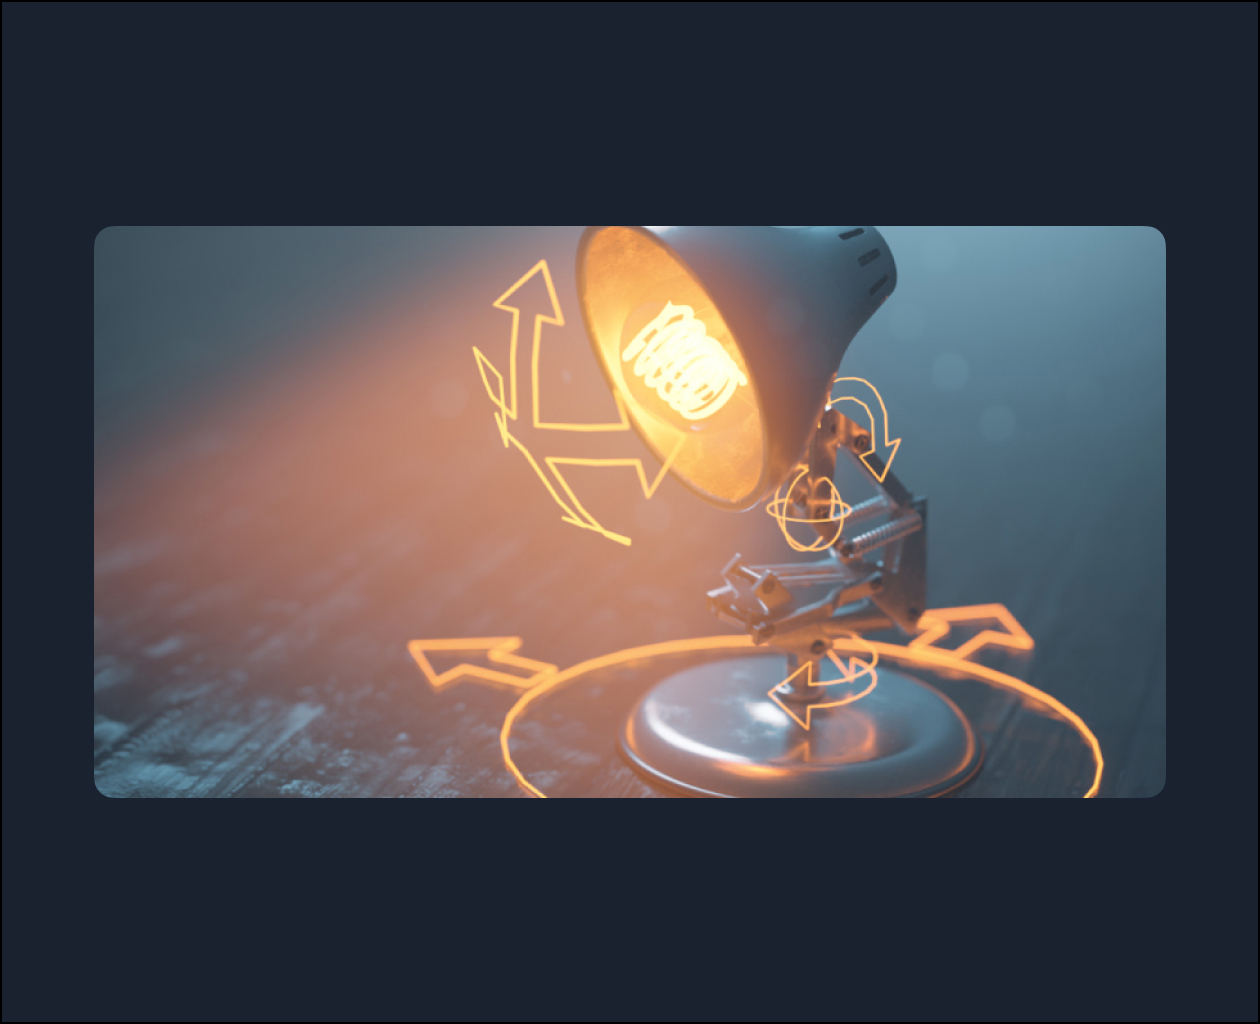


Part 1
Learn the basics of working with an armature and build out a basic rig. Then, extrude out the bones, set up the controllers, and set up your first inverse kinematics constraint.

Part 2
Build out the body of the lamp rig with this multi-layered inverse kinematics armature. Then, set up the springs to automatically move, squash, and stretch as the armature is animated. Then get the entire movement down to a single controller that enables very intuitive motion within the rig.

Part 3
Next is to set up the head stabilization controllers with multiple layers of location constraints to attach them to the body. Then, add a look-at constraint to animate the head in a natural motion automatically. Finally, create a central root controller to add flexibility to your animations.

Part 4
Test out your rig by building a stylized jump animation. Next, animate a squash and stretch motion with the rig and troubleshoot any issues that arise. Finally, add a cinematic presentation to your scene with a silhouette lighting and compositing setup.


